As an IT enthusiast one now a days one must keep some test infrastructure to test and play the IT stuff. Running a virtual machine normally is the easiest way to do this but it have some limitations if it is to be done in a cost effective way. either you have to run a pro versions of Microsoft Windows 8+ on your system or buy some thing from vmware. A good alternative is open source VirtualBox which is limited in some features related to remote management. phpVirtualBox give a nice power to VirtualBox making it possible to run headless Virtual Machines and manage those remotely from any where just using a web browser.
Here is the simple how-to the way I achieved this in my home network making it possible to run all my guest vms which can be managed from any where from a web browser.
Installing phpVirtualBox:
Install VirtualBox and Add-on tools on your windows machine as normal.After the successful installation of VirtualBox we need to install service required to manage the auto start the virtual machine on time of system reboot or shutdown.
Download and install open source sotware VBoxVmService form VboxVmService . Install the service as described .
Edit the VBoxVmService.ini file located in the installation folder of VBoxVmService i.e. c:\vms with basic required settings for the VirtualBox and your headless VM as below
[Settings]
VBOX_USER_HOME=C:\Users\MyUser\.VirtualBox
RunWebService=yes
PauseShutdown=5000
[Vm0]
VmName=MyFirstVM
ShutdownMethod=savestate
AutoStart=yes
Save the VBoxVmService.ini and restart the computer.
Install IIS and PHP on your machine using Microsoft Web Platform Installer.
Download phpVirtualBox from the project website phpVirtualBox. Extract the phpVirtualBox to an appropriate location and in IIS Manager add a virtual directory pointing to phpVirtualBox directory location . Add Basic and Windows Authentication Methods in IIS features if not installed before as this will be the security measure being used which will be discussed later in this article.
Go to phpVirtualBox directory and save config.php-sample as “config.php” Edit config.php in any text editor and check for the following values.
/* SOAP URL of vboxwebsrv (not phpVirtualBox's URL) */
var $location = 'http://127.0.0.1:18083/';
/* Default language. See languages folder for more language options.
* Can also be changed in File -> Preferences -> Language in
* phpVirtualBox.
*/
var $language = 'en';
/* Set the standard VRDE Port Number / Range, e.g. 1010-1020 or 1027 */
var $vrdeports = '9000-9100';
// Disable authentication
var $noAuth = true;
Note highlighted in line 14 we are disabling the php authentication function as this will be taken care by IIS , in most cases this is the only line you need to change in this file to make this running in windows environment.
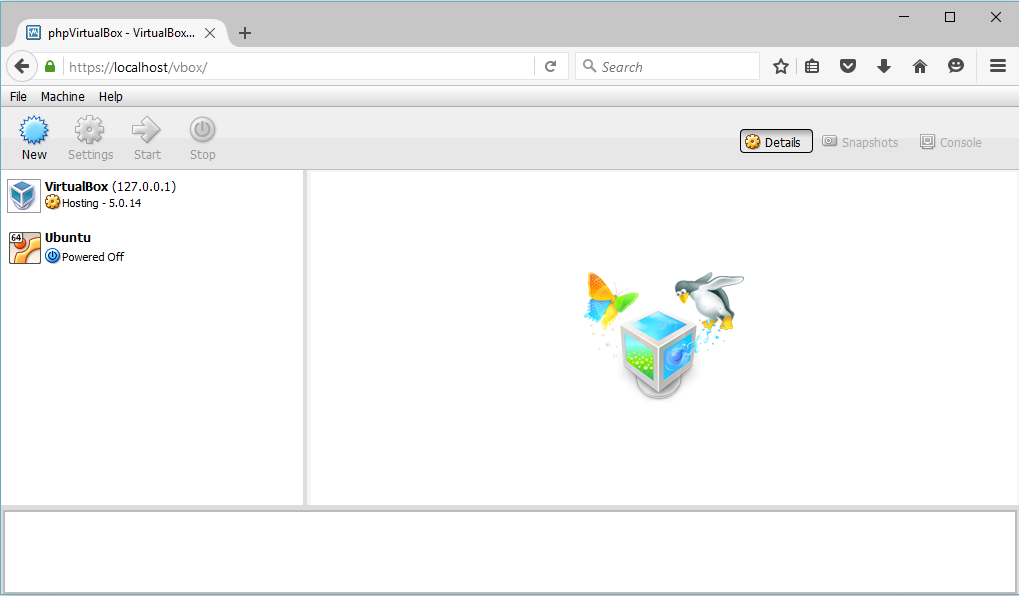
At this stage you should be able to view the phpVirtualBox Page by browsing i.e. http://localhost/phpVirtualBox
Securing the Web Interface:
now lets move on and secure the newly installed Hypervisor setup . From IIS manager click to the phpVirtualBox directory and double click the Authentication in IIS Section . Disable anonymous authentication and enable Basic Authentication .
Now go to the phpVirtualBox directory security settings and give read+ write permissions to your windows user on this directory.
Refresh phpVirtualBox link and you will be prompted for user name and password.
if you want to access this link on internet then its must to run the website on SSL . this can be achieved by creating a self singed certificate in IIS which will be discussed later in some other post.